Workflow Demonstration |
||||
|
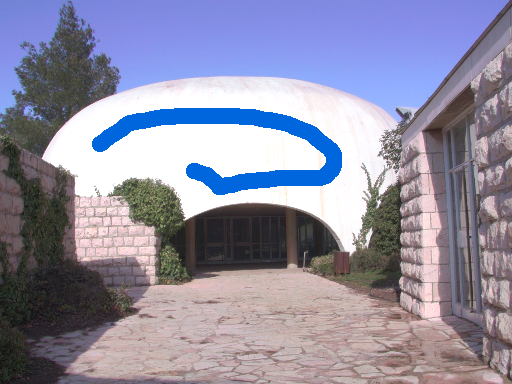
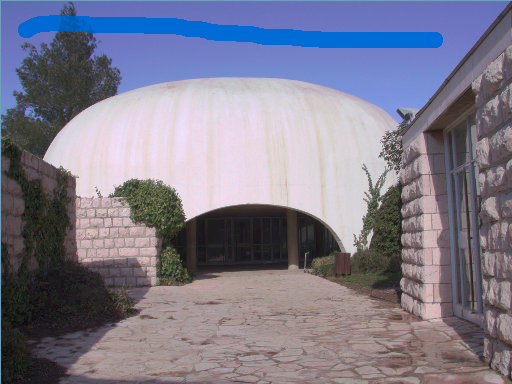
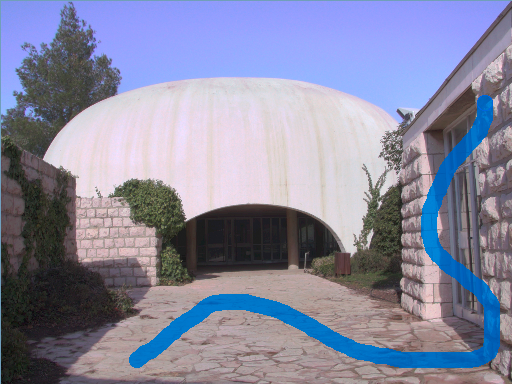
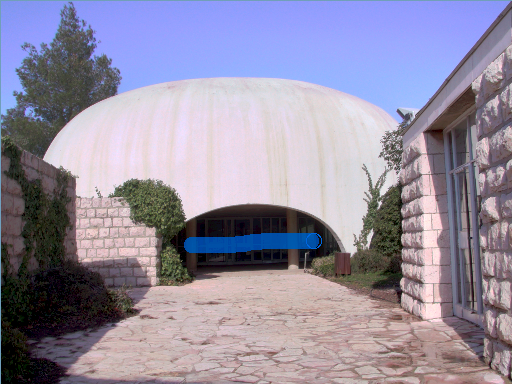
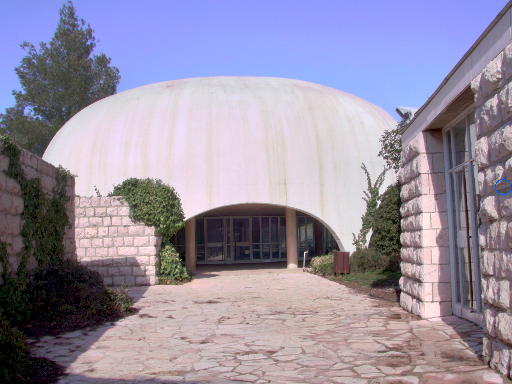
Step-by-step demonstration of our workflow. The top row of smaller images shows the strokes drawn by the user; The larger image below shows the result after adjusting one or more parameters for the corresponding stroke. (a) The user draws a stroke across the overexposed dome, and decreases the exposure to make some texture visible. Since this is the first and only constraint so far, the entire image is darkened. (b) The user draws a stroke across the sky and increases the exposure. The dome appears unaffected. (c) The next stroke is drawn across the foreground, followed by a slight adjustment in the exposure and an increase in the contrast. (d) Finally, the exposure and contrast are increased under the entrance arch. At any stage the user may select one of the previous strokes and modify the parameter values associated with the stroke, or delete the stroke altogether. Instructions: Roll your mouse over each thumbnail to see the corresponding result appear below. This makes it possible to easily flip back and forth between the successive results. Clicking on a thumbnail shows the full resolution stroke image. |
||||
|
||||
 |
||||
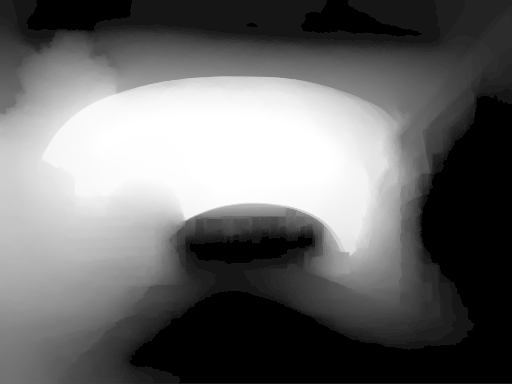
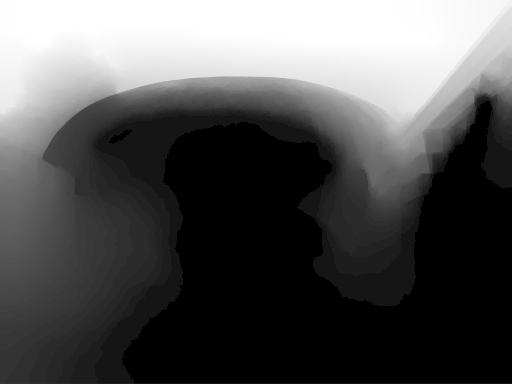
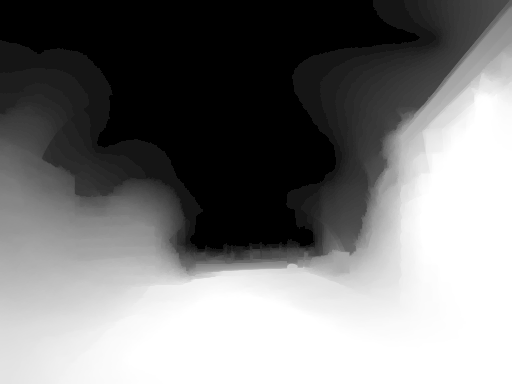
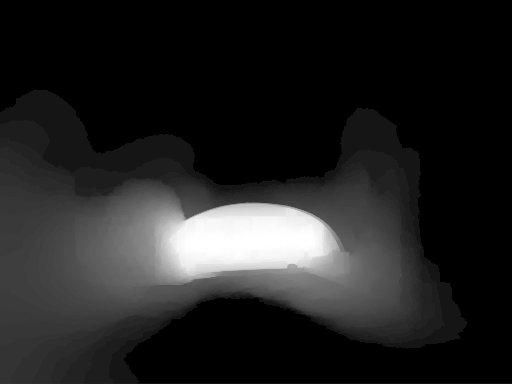
The next four images show the four influence functions
corresponding to the strokes in (a)--(d) above (the stroke has higher
influence in brighter areas). |
||||
|
||||
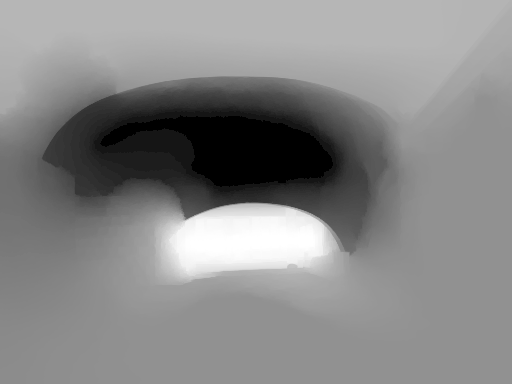
The image below is the resulting final exposure adjustment
map (brighter areas correspond to higher exposure). Note how strong
edges in the original image limit the influence of the individual strokes,
and correspond to discontinuities in the final adjustment map. |
||||
 |